Showing posts with label crafting. Show all posts

Friday, September 07, 2007

Make your own Charms Bracelet
This is a fun and easy bracelet to make, for much less than ones you buy with $5 per charm cost, or more. Good for kids, teens, fun adults, fundraisers, etc.

Materials:

hair elastics
jump rings (6mm in this picture)
one or more buttons (these charms will clump together as there are not stopper things, so using just one well-chosen button has a nicer effect)
two jewelry or beading pliers, at least one should be needlenose

Instructions:
1. For each button charm used, take out three jump rings. These will be linked like a chain to the hair elastic.

2. Open up two of the rings using the needlenose pliers. Hold one in each hand and TWIST the ring ends open (bend one side forward and the other backward). Do not pry them apart; this would weaken the metal.

3. Slip a button and the closed jump ring on to one open ring. Close this ring with the two pliers and then carefully squeeze the ends shut. Squeeze the ring right around the opening to make it as smooth and non-catchy as possible.

4. Slip the hair elastic and the never-opened jump ring on to the other opened jump ring. You should now have three linked rings that link a button on one side and the hair elastic on the other.

Do this for each charm and you are done!

Note: Ideally, split rings should be used on the elastic for more secure holding power, but at this small size I just couldn't get the thing to stay open so stuck with jump rings. We'll see how long the buttons stay on!

I will work on more detailed pictures of the jump ring opening, but it's pretty simple.


Even at camp...

Wednesday, July 18, 2007

I'm reading various etsy threads about pricing and pricing formulas and valuing your time, and omg, i'm getting a headache. Considering how much time it took to change my prices the last time, I'm reluctant to go through THAT again. Maybe if there were a quick and easy way to adjust prices on etsy...

In any case, I price for what I would and could spend - on things for kids, my main target. Because kids use things, and abuse things, and LOSE things, I make and price items that I or the buyer wouldn't be overly distraught if something HAPPENED to them. Cuz you know it will. If the item is loved and used, something will happen to it. I'd like my craft to be liked and loved and USED. And because of that last word, and the kid target, I try to make things washable, durable, for multiple uses, and that took limited time creating. I am a very practical gal, and I want that thing I toiled over to be used so much it literally falls apart from love and wear, thus my kid recipients. So I price so that a busy parent can say "Oh, I like that!" and if another or more are needed, wanted, she won't think twice about ordering a bunch more.

Also, it is not really fair to devalue "non-professional" (hobbyist) because they cannot drop everything else to pursue their dream. Buyers will buy what they like and not what they don't. How one makes her living should have nothing to do with the value of a particular item. It should stand on its own merit.

I'm a full-time mom and a crafter. You bet your ass I value my time.

And that's my take on the whole pricing fiasco. (as posted on the pricing thread in the etsy forum)

Friday, July 13, 2007


CRAFTY!
Keiki Gifts purchased some of my crocheted flowers and she did the most amazing things with them! I am so stoked! Will post link to her actual blog entry if I get her permission.

This was the "potion" created by older. It included some pretty expensive essential oils and some foam alphabets that accidentally got dumped in the toilet afterwards, but creative, and documented by older one, all the same. She and younger she collaborated on this effort.

Saturday, June 23, 2007

I'm taking pictures of my latest thingies for Yarn Confections and my kid has to get in the picture...


Come visit Yarn Confections!
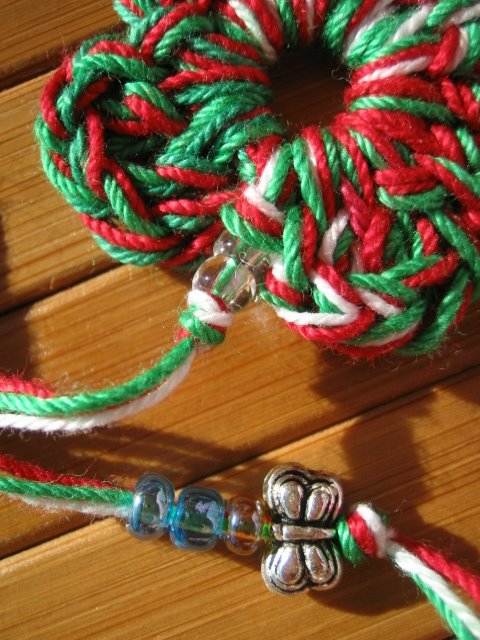
I've opened another storefront on etsy that is more aptly named and doesn't make proper people go "uh-oh." The items from the original site will either be moved over or saled off. Ringos are my latest confection. Check them out! I have to snap pics and bag 'em quickly before the girls or I try to hoard them ALL.

Oh, and my friend who makes those beautiful fairy crowns also has an etsy site, KeikiGifts.etsy.com. She only has a few of those handmade wonders available...going for a TOTAL STEAL. You won't believe it. Please check them out.

Friday, June 22, 2007

My friend made these absolutely beautiful fairy princess crowns for my girls. I took loads of pictures to try and capture some of the workmanship and intricacies.


It looks like she first wrapped eyelash yarn and thin ribbon around the wire base.


Then pieces of that wedding veilish stuff is tied all along it, along with lots of pretty fake flowers that have bead centers.


Also, ribbon streamers are tied at the ends with different beads tied along the lengths and at the end. Wire circles with beads and charms are also attached at various points. These crowns are really the most amazing things I've ever seen. Soooo neat! The best part is the base is a thick but bendable wire so I can shape it very easily to the wearer's head. Oh yeah, and my kids LOVE them!

Thank you so much, J!

Thursday, June 07, 2007


I forgot to mention: I made my first two online sales!!!! Whoopeee! Two hairpins sets sold.


And all the kindergarten graduation leis have been bowed or rosed and handed out. Whooo. I tired. Took way long to make those bows, and attach the roses. The normal way to finish a lei is to attach a ribbon bow. But with more than 20 to do, I attached a bunch of fake roses instead to some of the lei. Only trouble was, I thought I would be "assisting" in the leing process so that they wouldn't get tangled up, dropped, faster dispersion. WRONG. Kid insisted on doing it all herself, so I don't know who got what and I know roses were popping off their stems right and left. boohoo. Didn't get chance to take pics after bows and roses attached. They looked way good! The bow really is the finishing touch! Felt like completing works of art as I selected bow and rose colors to go just right with the lei.

And last thing is the Kikaida hairpin for my littlest one. Made matching barrette sets for oldest ones fellow muskateers as their kinder grad. gift.

Monday, January 08, 2007

Newly gifted:

knitted bacteria!!
pattern: Knitted Bacteria by Beth Skwarecki of knitty.com Nautie fame (her blog no longer features this pattern, sorry, folks)
yarn: mostly Caron Simply Soft
needles: size 4 dpn
These were SO FUN to make! My husband wanted them as soon as he found out what they were. He has requrested a bunch for his nurse friends' kids.

and

Flower Power bracelet from crochetme
yarn: Lion Brand Microspun and Sugar n Cream for flowers
hook: F
notes: The bracelet turned out too long but doubled it could easily become a ponytail decoration or baby bracelet. I could have used more contrasting colors to bracelet to make effect more striking.

and

It's a giant insect thing!
pattern: Phil from Jungle Bugs by Melissa Mall
yarn: Red Heart - the thing is actually blue but the flash makes it look purple
hook: G
Red Heart is stiffer and slightly thicker than Caron Simply Soft so I used the hook called for in the pattern versus the one size smaller hook I usually use. Another fun critter to craft. Another covetted by hubby and kids. A winner! Of course, another gifted away, to my kids' great disappointment. I've promised to make more for said offspring but you know, it's hard to see the fruit of your labors tossed about, left on the ground, kicked, sat on, forgotten, and all those things you know the gift recipient will probably do as well, but at least I won't have to pick it up, put it away, or clean it!

Wednesday, November 08, 2006


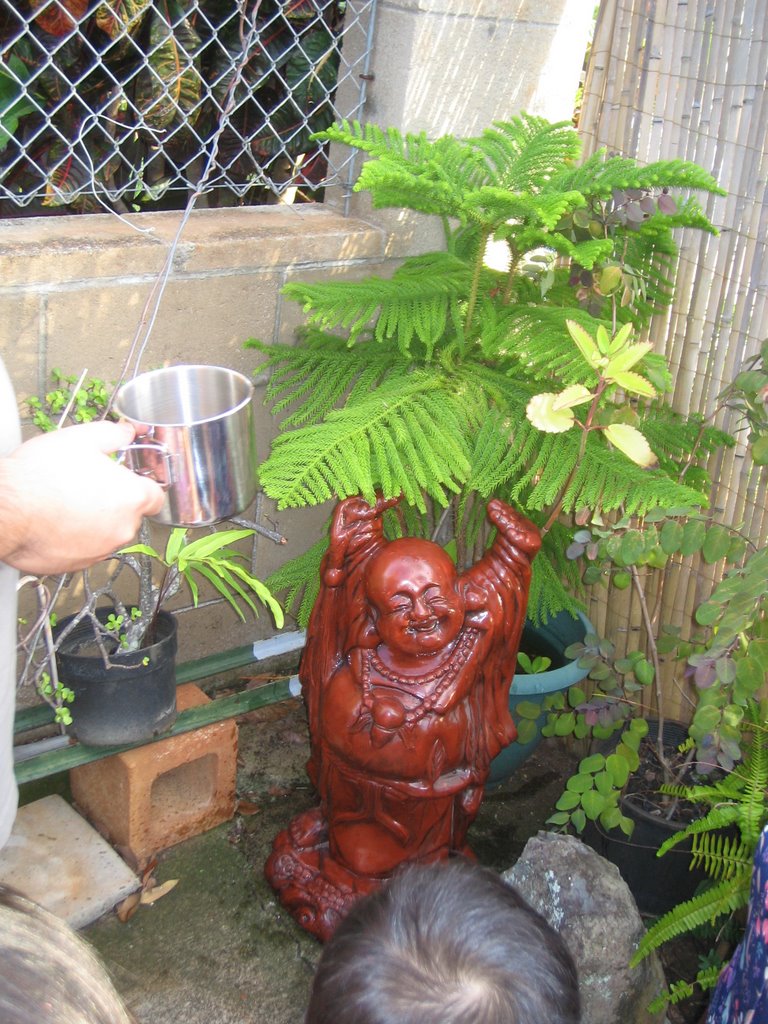
Okay, this didnt happen today but I bought this Buddha concrete figure for my husband in July and it just arrived recently. We put it in our wealth corner of the yard...see what happens. It's pretty nice, don't ya think?


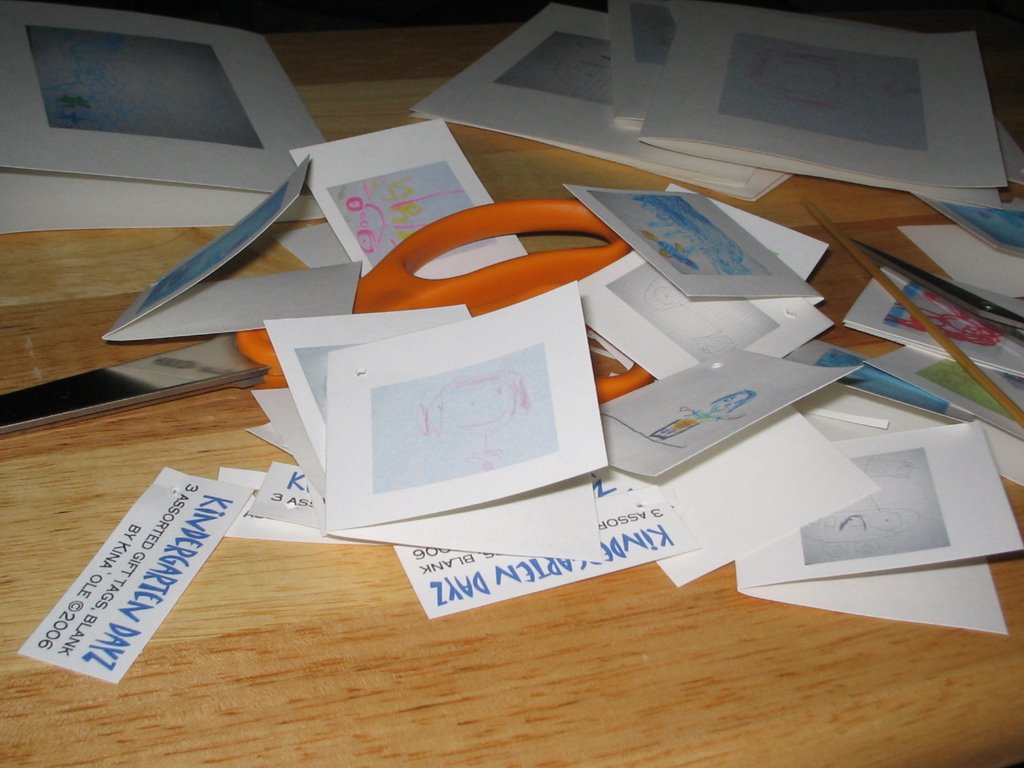
In other news, finished assembling blank art cards and gift tags to sell in my daughter's family fun fair at her school. It's a fundraiser so she doesn't get to keep the cash but it was a good deadline to meet. I took photos of her artwork and made the cards out of them. Bundled them in packs of three with three envelopes, with nice ribbon yarn and a tag, in a sandwhich baggie so wouldn't get grubby from handling. Pretty nice and VERY FUN. I almost skipped dinner working on these, was that fun. Passing over food for anything is a really big deal for me. And she was involved in the project so that was good.


Knitting toys, this pic from Hanna Anderson site gave me ideas about how to make a knit thing cuter.

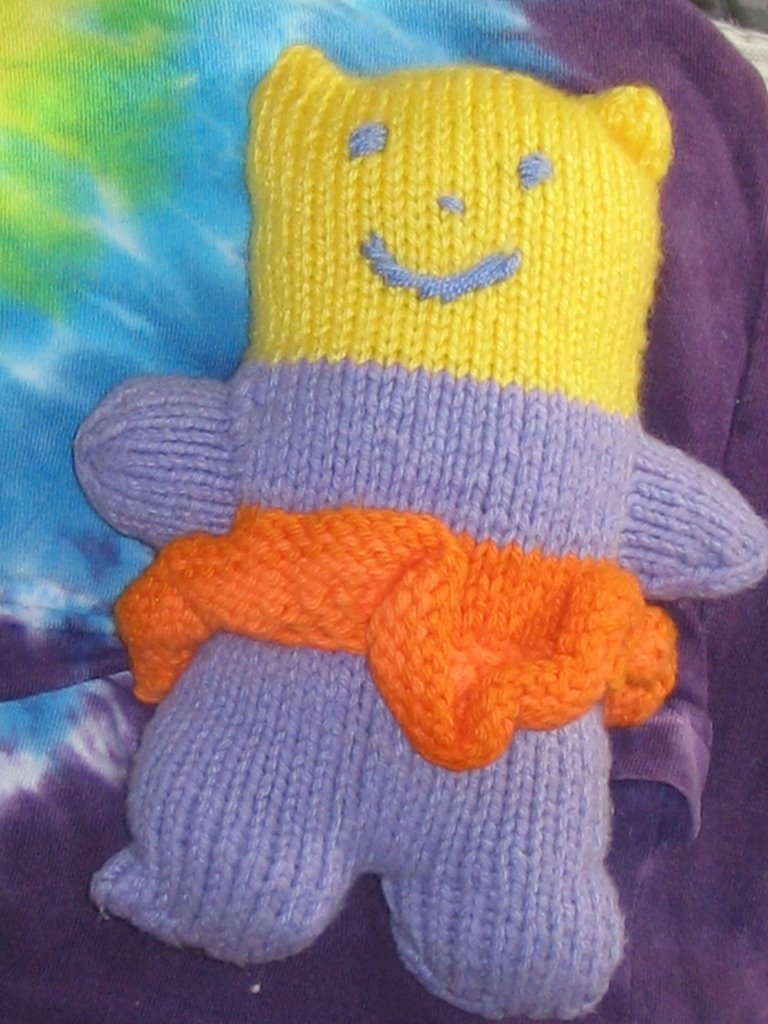
I knit this fella from Berrocco http://www.berroco.com/exclusives/kiki/kiki.pdf, somehow not as cute, but the Small One liked it anyway. I think it's the face. How to make cuter?