Sunday, September 09, 2007

New developments in Yarn Confections:


Jewelry for big or little people - chokers and matching bracelets with varying closures in two rayon cord colors: Bamboo and Pink Beach.
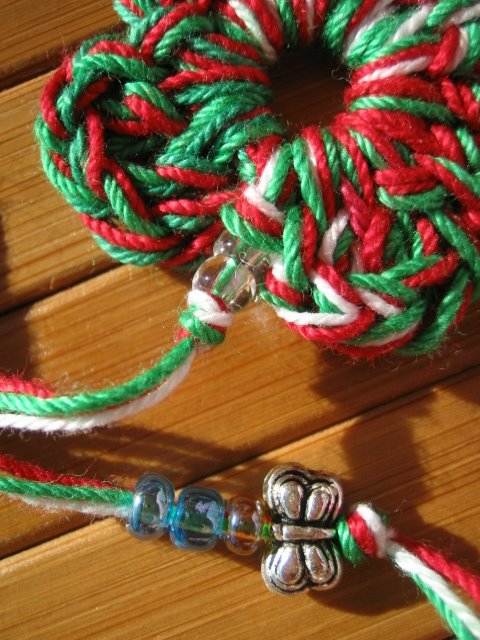
Closures available include decorative toggle, lobster claw, or wood bead and loop. For kids I would advise the wood bead and loop. It is very easy to fasten and pretty secure. Just loop the bead through the opposing loop a couple of times. However, my three year old was able to manipulate the larger flowery toggle-loop closure easily. I was pretty surprised. Also known as rat tail, this material is gently hand washable so you can easily clean off sunscreen, dirt, and sweat . Custom orders are available. Just measure your neck or wrist for the desired snugness and indicate what type of closure you would like. Bead or lobster claw is recommended for bracelets.

How about a bookmark for party favors, office gifts, graduation goodies? This bookmark is made in baby shower friendly colors. I can make planny! Just let me know.


Friday, September 07, 2007

Make your own Charms Bracelet
This is a fun and easy bracelet to make, for much less than ones you buy with $5 per charm cost, or more. Good for kids, teens, fun adults, fundraisers, etc.

Materials:

hair elastics
jump rings (6mm in this picture)
one or more buttons (these charms will clump together as there are not stopper things, so using just one well-chosen button has a nicer effect)
two jewelry or beading pliers, at least one should be needlenose

Instructions:
1. For each button charm used, take out three jump rings. These will be linked like a chain to the hair elastic.

2. Open up two of the rings using the needlenose pliers. Hold one in each hand and TWIST the ring ends open (bend one side forward and the other backward). Do not pry them apart; this would weaken the metal.

3. Slip a button and the closed jump ring on to one open ring. Close this ring with the two pliers and then carefully squeeze the ends shut. Squeeze the ring right around the opening to make it as smooth and non-catchy as possible.

4. Slip the hair elastic and the never-opened jump ring on to the other opened jump ring. You should now have three linked rings that link a button on one side and the hair elastic on the other.

Do this for each charm and you are done!

Note: Ideally, split rings should be used on the elastic for more secure holding power, but at this small size I just couldn't get the thing to stay open so stuck with jump rings. We'll see how long the buttons stay on!

I will work on more detailed pictures of the jump ring opening, but it's pretty simple.


Even at camp...